经过数次跳票之后,Let's Encrypt在2018年3月13日开始提供支持泛域名的SSL证书了,每次颁发证书的有效时间是3个月,因此Let's Encrypt提供了一个自动颁发和更新SSL证书的工具acme.sh,使用下来感觉比收费的还要方便。
安装证书自动签发/续签工具
acme.sh 实现了 acme 协议, 可以从 letsencrypt 生成免费的证书。下面我们以CentOS为例进行说明:
安装系统依赖
acme.sh需要curl、cron和socat的依赖支持,使用下面的任务进行安装:
yum update -y && yum -y install curl cron socat
对于官方不支持的CentOS版本(如5.x),可以手动下载和编译上述包进行安装。
PS:CentOS 5.x可以使用socat v1.7.2.4,安装方法可以参考:socat的安装与使用
开始安装 acme.sh
可以使用下面的命令安装:
curl https://get.acme.sh | sh
安装脚本将所有的文件安装到 ~/.acme.sh/目录下,并自动创建一个定时任务,每天0:00自动检测所有的证书,如果过期了就会自动更新证书。
生成证书
生成证书的方式就两种:http方式和dns方式,相对来说我更喜欢dns方式,这种方式可以使用dns解析商的API自动进行域名的验证等操作,非常方便。目前支持
cloudflare, dnspod, cloudxns, godaddy 以及 ovh
等数十种解析商的自动集成,如果你的域名不是使用的这些解析商的话,智能使用http方式进行手动验证了。
这里以常用的dnspod来介绍如果使用dns方式来生成证书,首先在DNSPOD用户中心-安全设置中开启API Token,然后创建一个API Token,并记住ID和Token,执行下面的命令:
export DP_Id="<your_dnspod_id>"
export DP_Key="<your_dnspod_token>"
~/.acme.sh/acme.sh --issue --dns dns_dp -d javatang.com -d *.javatang.com
上面的DP_Id和DP_Key是dnspod.cn API定义的变量名,--dns参数后面的dns_dp也指定了服务商为dnspod.cn,其他服务商的API名称见https://github.com/Neilpang/acme.sh/wiki/dnsapi。相同的ID和Key只要指定一次就可以了,acme.sh会自动将其保存在account.conf文件中。
后面-d参数用于生成证书的域名,如果想要生成泛域名的SSL证书必须按照上面的例子那样设定两次-d参数,第一次必须是主域名,不可以直接写泛域名的格式,后面一次是*.javatang.com泛域名的格式。如果不需要泛域名的SSL证书的话,只要指定一次-d参数就可以了。
执行上面的命令之后,acme.sh会自动校验域名的有效性并像Let's Encrypt请求SSL证书,成功之后会将证书放在~/.acme.sh/目录下面,但一定要注意,不要在nginx/apache中直接使用此目录下面的证书文件,这是因为脚本升级之后此目录会发生变化,会造成引用错误。正确的做法是再执行复制并安装证书。
复制并安装证书
使用--installcert命令可以将证书复制到固定的位置,并保证在更新证书之后自动重启nginx/apache,这里一nginx为例,执行的脚本如下:
~/.acme.sh/acme.sh --installcert -d javatang.com --key-file /etc/nginx/conf/cert/javatang.com.key --fullchain-file /etc/nginx/conf/cert/javatang.cer --reloadcmd "service nginx force-reload"
-d参数表示需要复制的域名名称,如果是泛域名的话直接使用主域名。
--key-file和--fullchain-file参数分别表示所要复制的key和fullchain文件的位置和文件名,nginx/apache配置文件中所引用的SSL文件级为这里所设置的路径。
最后一个参数--reloadcmd也非常重要,这里表示证书更新之后自动重启nginx/apache的命令,这样才能保证更新之后的证书有效。我一开始将这个参数设置错误了,导致证书到期更新之后没有应用于nginx。
删除域名证书
如果因为误操作需要删除域名证书话,可以使用 --remove参数。
首先使用 ~/.acme.sh/acme.sh --list 查看当前的证书列表,然后使用 ~/.acme.sh/acme.sh --remove -d <Main_Domain> 删除对应的域名证书,最后可以再使用--list 参数查看是否删除成功。

PS:虽然acme.sh将所有的操作放在了 ~/.acme.sh/ 目录下,但不建议直接删除该目录下的域名目录。
配置nginx/apache
最后不要忘记了还要再nginx/apache中引用上面的SSL证书,这里以nginx为例,配置文件如下:
server {
    listen 443 ssl;
    server_name javatang.com *.javatang.com;

     ssl on;
    ssl_certificate   cert/javatang.com.cer;
    ssl_certificate_key  cert/javatang.com.key;
    ssl_session_timeout 5m;
    ssl_protocols TLSv1 TLSv1.1 TLSv1.2;
    ssl_ciphers ECDHE-RSA-AES128-GCM-SHA256:ECDHE:ECDH:AES:HIGH:!NULL:!aNULL:!MD5:!ADH:!RC4;
    ssl_prefer_server_ciphers on;
}再强调一下:这里引用的SSL证书一定不要是acme.sh原始下载的证书,而是使用--installcert命令复制的证书。
使用acme.sh还有一个好处就是不需要担心证书过期的问题,因为脚本会自动更新证书,非常方便。
查看证书的情况
最后可以通过https://crt.sh查询指定域名的证书详情。
常见问题
安装的时候出现 error code: 35
在有的服务器中遇到了下面的错误提示:
Please refer to https://curl.haxx.se/libcurl/c/libcurl-errors.html for error code: 35
升级本地的openssl版本,可以使用下面的命令进行升级:
wget -c https://www.openssl.org/source/openssl-1.1.0-latest.tar.gz
tar xzvf openssl-1.1.0-latest.tar.gz
cd openssl-1.1.0*
./config --prefix=/usr/local/openssl
make && make install
mv /usr/bin/openssl /usr/bin/openssl.old -f
mv /usr/lib64/openssl /usr/lib64/openssl.old -f
mv /usr/lib64/libssl.so /usr/lib64/libssl.so.old -f
mv /usr/include/openssl /usr/include/openssl.old -f
ln -s /usr/local/openssl/bin/openssl /usr/bin/openssl
ln -s /usr/local/openssl/include/openssl /usr/include/openssl
ln -s /usr/local/openssl/lib/libssl.so /usr/lib64/libssl.so
echo "/usr/local/openssl/lib" >> /etc/ld.so.conf
ldconfig -v
Let's Encrypt证书申请频率的限制
同一个主域名一周之内只能申请50个证书
每个账号下每个域名每小时申请验证失败的次数为5次
每周只能创建5个重复的证书,即使是通过不同的账号进行创建
每个账号同一个IP地址每3小时最多可以创建10个证书
每个多域名(SAN) SSL证书(不是通配符域名证书)最多只能包含100个子域
更新证书没有次数的限制,但是更新证书会受到上述重复证书的限制
访问SSL证书之后的系统偶尔会出现卡顿的问题
对服务器资源和网络状况进行排除之后,在nginx的error.log文件中发现有很多类似下面的错误信息:
2019/03/22 17:28:42 [crit] 20807#0: *249015212 SSL_shutdown() failed
(SSL: error:140E0197:SSL routines:SSL_shutdown:shutdown while in
init) while closing request, client: 100.200.70.100, server: 0.0.0.0:443
查阅了相关的资料发现,是nginx和openssl的版本太低,需要保证nginx的版本在1.9.12以上,openssl的版本在1.1.0以上。
出现tls_process_client_hello:version too low错误
使用低版本的IE浏览器会无法访问https,在nginx的error.log文件中出现下面的错误信息:
SSL_do_handshake() failed (SSL: error:1417D18C:SSL routines:tls_process_client_hello:version too low) while SSL handshaking
通过命令wget --secure-protocol=SSLv3 -O - https://www.javatang.com/ 进行测试,结果如下:
OpenSSL: error:14094410:SSL routines:ssl3_read_bytes:sslv3 alert handshake failure
Unable to establish SSL connection.
这是因为低版本的IE浏览器采用了SSLv3进行访问,而OpenSSL从1.1.0开始默认取消了SSLv3,即使在nginx的ssl_protocols配置项中增加SSLv3也是无效的,可以通过下面几种方法进行解决:
(1)编译OpenSSL v1.1.x的时候config的时候增加enable-ssl3 enable-ssl3-method参数,编译Nginx的时候configure的时候增加--with-openssl-opt="enable-ssl3 enable-ssl3-method",然后重新编译OpenSSL和Nginx。不过不建议这样操作,因为SSLv3有安全漏洞,可以采用下面的方法。
(2)在Nginx中通常会采用80端口做301跳转到433端口,可以取消跳转同时保留80和433两个端口的访问,或者判断浏览器是IE或采用了SSLv3的时候进行跳转,设置如下:
server {
    listen 80;

    set $oldclient 0;
    if ($http_user_agent ~* "MSIE") {
        set $oldclient 1;
    }
    if ($ssl_protocol = SSLv3) {
        set $oldclient 1;
    }
    if ($oldclient = 0) {
        rewrite ^(.*) https://$host$1 permanent;
        break;
    }
}
环境
网站的托管环境如下:
注意:请使用 yum 命令安装 nginx,这样可以确保 nginx 安装在默认的位置,因为 certbot 会检测 /etc/nginx/ 目录下的配置文件。
操作步骤
执行下面的步骤可以直接为你的网站配置 HTTPS 证书。
yum -y install yum-utils yum-config-manager --enable rhui-REGION-rhel-server-extras rhui-REGION-rhel-server-optional yum install certbot python2-certbot-nginx
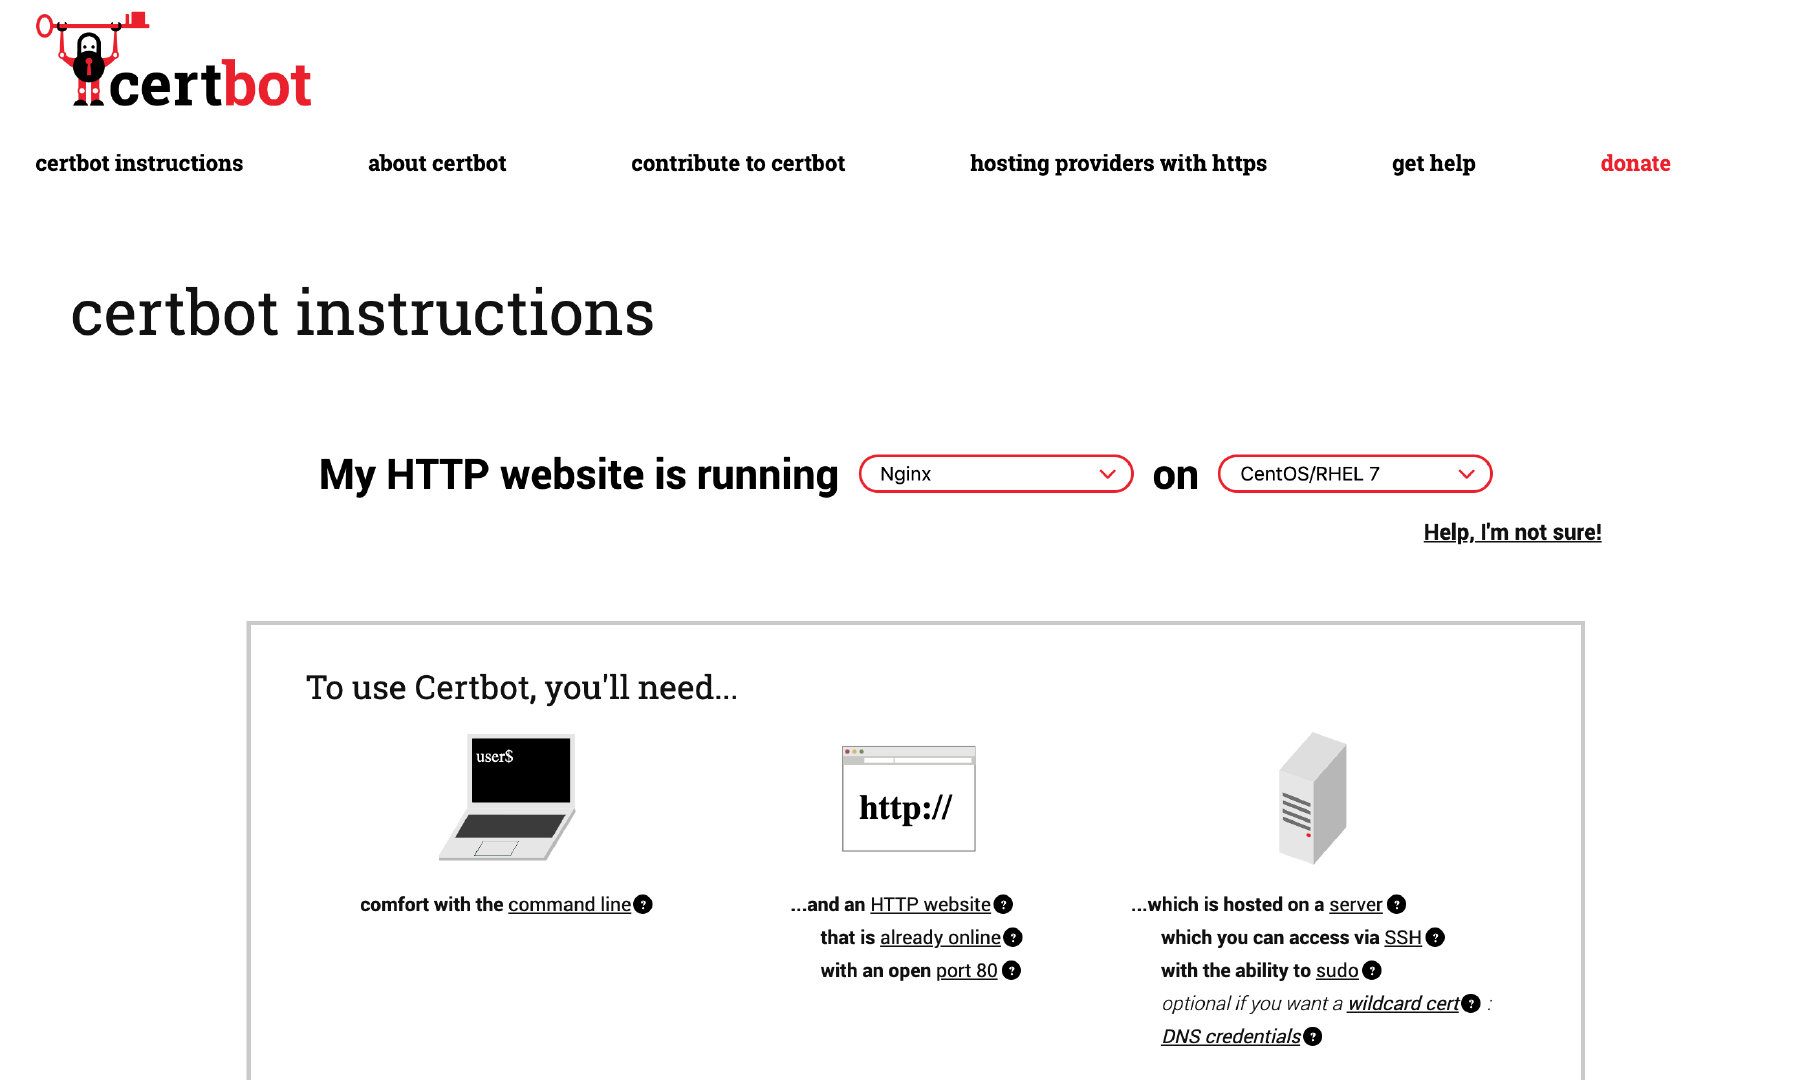
下图是在 Certbot 中选择服务器和操作系统的页面。
执行下面的命令,根据提示会自动配置 nginx。
certbot --nginx Saving debug log to /var/log/letsencrypt/letsencrypt.log Plugins selected: Authenticator nginx, Installer nginx Starting new HTTPS connection (1): acme-v02.api.letsencrypt.org Which names would you like to activate HTTPS for? 1:servicemesher.com 2: www.servicemsher.com # 这里直接回车选择所有的域名 - - - - - - - - - - - - - - - - - - - - - - - - - - - - - - - - - - - - - - - - Select the appropriate numbers separated by commas and/or spaces, or leave input blank to select all options shown (Enter 'c' to cancel): - - - - - - - - - - - - - - - - - - - - - - - - - - - - - - - - - - - - - - - - You have an existing certificate that contains a portion of the domains you requested (ref: /etc/letsencrypt/renewal/servicemesher.com.conf) It contains these names: servicemesher.com, www.servicemesher.com You requested these names for the new certificate: servicemesher.com, prow.servicemesher.com, www.servicemesher.com. Do you want to expand and replace this existing certificate with the new certificate? - - - - - - - - - - - - - - - - - - - - - - - - - - - - - - - - - - - - - - - - (E)xpand/(C)ancel: E Renewing an existing certificate Performing the following challenges: http-01 challenge for prow.servicemesher.com Waiting for verification... Cleaning up challenges Deploying Certificate to VirtualHost /etc/nginx/nginx.conf Deploying Certificate to VirtualHost /etc/nginx/nginx.conf Deploying Certificate to VirtualHost /etc/nginx/nginx.conf Please choose whether or not to redirect HTTP traffic to HTTPS, removing HTTP access. - - - - - - - - - - - - - - - - - - - - - - - - - - - - - - - - - - - - - - - - 1: No redirect - Make no further changes to the webserver configuration. 2: Redirect - Make all requests redirect to secure HTTPS access. Choose this for new sites, or if you're confident your site works on HTTPS. You can undo this change by editing your web server's configuration. - - - - - - - - - - - - - - - - - - - - - - - - - - - - - - - - - - - - - - - - Select the appropriate number [1-2] then [enter] (press 'c' to cancel): # 这里是为了扩展证书支持更多的域名,所有输入 2 回车 Traffic on port 80 already redirecting to ssl in /etc/nginx/nginx.conf Redirecting all traffic on port 80 to ssl in /etc/nginx/nginx.conf Traffic on port 80 already redirecting to ssl in /etc/nginx/nginx.conf - - - - - - - - - - - - - - - - - - - - - - - - - - - - - - - - - - - - - - - - Your existing certificate has been successfully renewed, and the new certificate has been installed.
然后重新加载配置。
nginx -t;nginx -s reload
设置证书自动更新。
echo "0 0,12 * * * root python -c 'import random; import time; time.sleep(random.random() * 3600)' && certbot renew" | sudo tee -a /etc/crontab > /dev/null
好了现在访问你的网站就可以看到 https 头部加了 HTTPS 锁了。
Could not choose appropriate plugin: The manual plugin is not working; there may be problems with your existing configuration. The error was: PluginError('An authentication script must be provided with --manual-auth-hook when using the manual plugin non-interactively.',). Skipping.
搜索后得知是因为验证域名所有者失败,没有指定 --manual-auth-hook 参数。
Let's Encrypt 有多种验证方式,常用的有 http 和 dns 方式,由于我是在 homestead 虚拟机里面申请的证书,无法使用 http 方式,所以之前申请证书用的是 dns 方式,也就是创建 TXT 记录。
我用的是 DNSPod,便根据 DNSPod 提供的 API 自己写了一个脚本,这里分享给大家。
$ wget https://raw.githubusercontent.com/al-one/certbot-auth-dnspod/master/certbot-auth-dnspod.sh $ chmod +x certbot-auth-dnspod.sh
echo "your dnspod token" > /etc/dnspod_token
add crontab
0 2 1 * * sh -c 'date "+\%Y-\%m-\%d \%H:\%M:\%S" && /usr/bin/certbot renew --manual-auth-hook /path/to/certbot-auth-dnspod.sh' >> /var/log/certbot-renew.log 2>&1
打赏

微信扫一扫,打赏作者吧~


